The digital locker helps get rid of paper documents and lets government agencies share documents by giving them a way to check the "authenticity" of the documents online.
DigiLocker is a Ministry of Electronics and Information Technology(MeitY) project, which is part of the Digital India Corporation(DIC).
Also Read: How to add Driving Licence to DigiLocker
You can open a Digilocker online by taking these four easy steps:
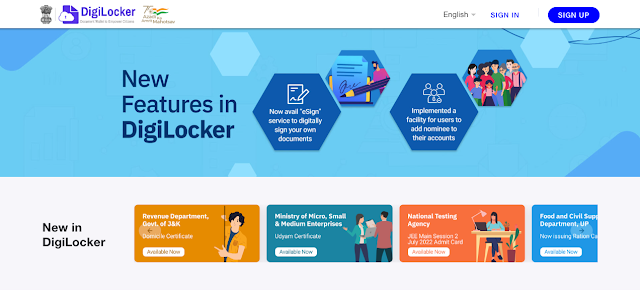
Step 1: Go to the DigiLocker site (digilocker.gov.in). You can also get the app from the Play Store or App Store on your phone. Also, you can use your Aadhaar number to set up a digital locker account by entering your number at the Digilocker website. Make sure that the Aadhaar number is linked to your current phone number.

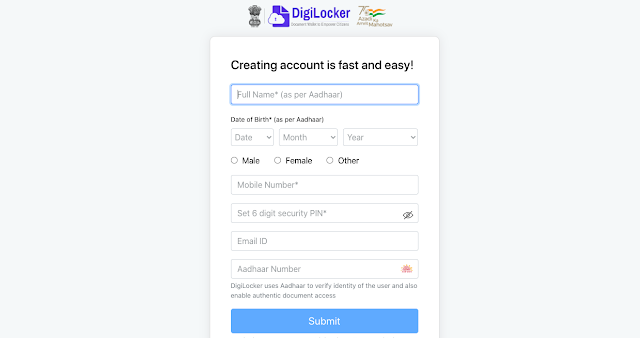
Step 2: Click on "Sign Up." Enter your full name, birth date, and mobile number (registered with Aadhaar). Set up a security PIN and type in an email address.

Step 3: Enter your Aadhaar Number. Once you enter your unique 12-digit Aadhaar number, you will be given two options: One Time Password (OTP) or Fingerprint. You can use options to move forward.
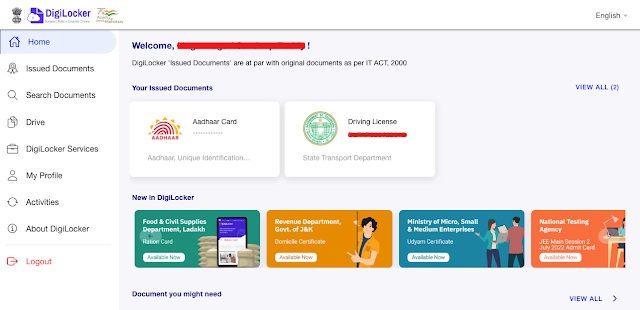
Step 4: Create a user ID. When the process is finished, the application will ask the user to make a "Username" and "Password." Enter the name and password you want to use for your "Digital Locker" account, and then click the "Sign Up" button. After a Digilocker account has been set up successfully, the application will show the "Dashboard" screen.

When you sign in to DigiLocker, you can see the following sections:

Dashboard: This is the main screen of your DigiLocker account. From here, you can go to another section of DigiLocker. On the home screen, there is also a list of documents that have been sent out and a link to get documents from DigiLocker partners.
Issued Documents: This section lists URIs (links) to digital documents or certificates issued by government departments or agencies integrated with DigiLocker.
Benefits of DigiLocker
Accessibility- Texts that have just been uploaded or downloaded can be accessed online from anywhere. The user can print it out and send it to be checked. The user can also get all of the services on the smartphone itself by using the DigiLocker app.Authenticity: The documents come directly from different government agencies and departments, so they are real. Users can't change these kinds of documents. Because of this, the e-KYC process is easier for agencies to do.
Paperless processing: Since original documents can now be shared online, the user doesn't need to install hard copies of documents. So, there are a lot fewer delays caused by paper, which speeds up the time it takes for government agencies to do their work overall.
eSign: Fake proofs that were once only possible on paper can now be made online, even on eSign. The user can digitally sign an e-document, which proves that the document is real, before sending it to an agency or institution for verification.
| Watch on Youtube | |
|---|---|
| DigiLocker - Register online | https://youtu.be/nPYFqyKbLGw |

