How to install appybuilder Offline Version for Windows: Appybuilder has closed their services on 30th Aug 2019 and they have joined hands with kodular (Kodular Offline Version not available). Those who have done Android apps before 30th august with appybuilder. They cant update the app because unable to download the APK file. Don't be panic here we have an alternate method to update the app in the play store. Appybuilder has announced the offline version without an internet version will work and we can update the app. Also, appybuilder online version has the last API 26 according to Google play store policy it should be mandatory to update the app in API 28. It can't do in the online version of appybuilder . In the offline version, Appybuilder has updated API 28. Here we have given complete steps "How to install appybuilder in offline method".
How to install appybuilder Offline Version for Windows
Required software before installing :
1) AppyBuilder personal version
2) Java 8 JDK
Steps to install the Appybuilder in Offline method:
1)Download the "AppyBuilder personal version" file from Here
(or) You can download it directly from Here. After finish download in zip and just extract it!
2) Next step is to download JDK-8u181-windows-x64 from this link (or) you can download from the oracle website. Install it on your computer properly.
Once you have installed the java software just check the system configuration :
3)In the windows10 system just type "advanced system settings " in the search box. You can see it at the top.
(For Reference)
4) After clicking on it. You will get another program window it will open on the screen.
(for reference)
Just click on the yellow highlight button. You will get another program window that will open.
(For Reference)
5)In that you need to check JAVA_HOME is present in User Variables, if not, click on New button and you will get another program window asking "Variable name" and "variable value".
(Below is screenshot)
6) Just enter varaible name as "JAVA_HOME" and Variable value is default installation path of Java 8 JDK.
Example: In my system, I have installed java 8 in C Drive:
So my java 8 path is : C:\Program Files\Java\jdk1.8.0_181
(Screenshot for reference)
7) Then go back to System Variables, select the PATH variable, click on "Edit .." - "Edit ..", click on New .. - New and type % JAVA_HOME% \ bin.
(Screenshot for reference)
Thats all folks ! Intallation has completed now will check it...
8)Just Open a CMD prompt, type echo % JAVA_HOME %, and press enter. If the system variable is correct then we will see in which path of the folder is installed, if we do not see anything we did not do it correctly. Once again check it from starting.
Then you can check the java version that you have installed in your Windows. Just type
javac -version.
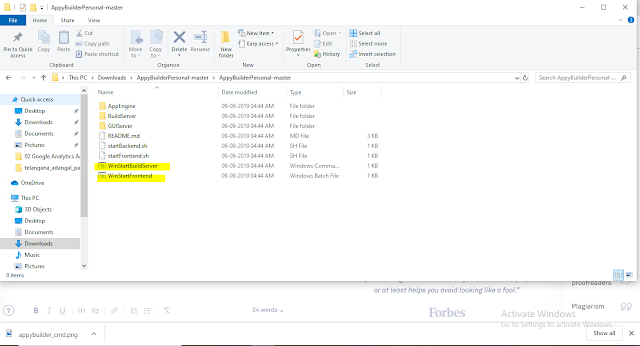
9) Go to the folder where we have Unzipped the file of the offline version, there we will find two files named WinStartFrontend.bat and WinStartBuildServer.cmd
(Screenshot for reference)
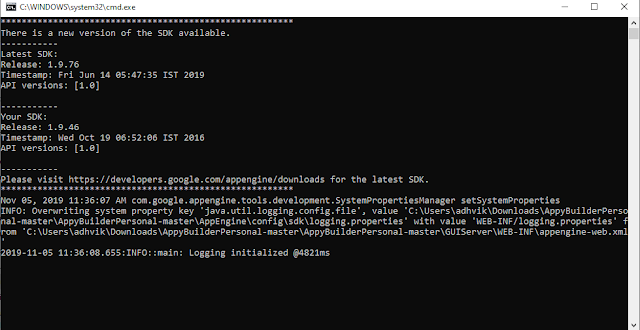
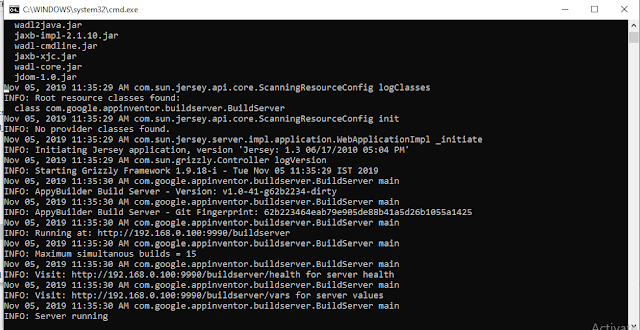
After clicking on both files. Then it will open in the Windows Command Prompt.
(Screenshot for reference)
Now you can open your browser and type http://localhost:8888 and then you will see the following image where you will put your email
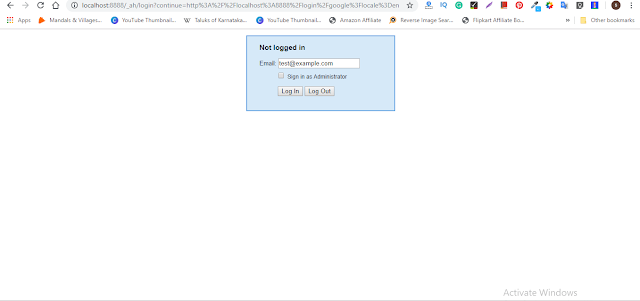
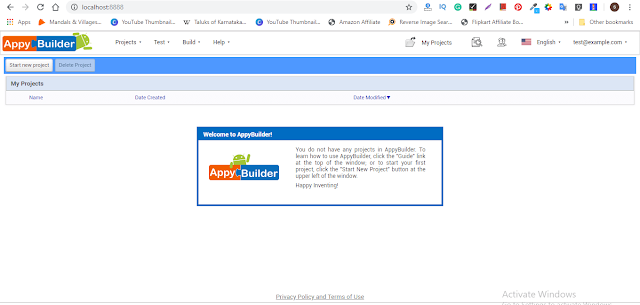
It's working fine :)
Note: These will work for appybuilder apps. The kodular offline version is not available.


